Build Your Own Private ChatGPT in 30 Minutes


What you'll build
In just 30 minutes, you'll have your private AI assistant running locally on your Mac. No data leaves your machine, and you'll have unlimited conversations without any subscription fees.
Prerequisites
- macOS (Big Sur or newer)
- Docker Desktop installed and running
- LMStudio downloaded from https://lmstudio.ai/download
- (Optional) An Apple Silicon Mac for best performance with MLX models
What You'll Get
- Complete privacy - your conversations never leave your machine
- Offline AI capability - works without internet
- Free unlimited usage - no API costs or rate limits
- ChatGPT-like interface with conversation history
Steps
Step 1: Install Docker or any container runtime.
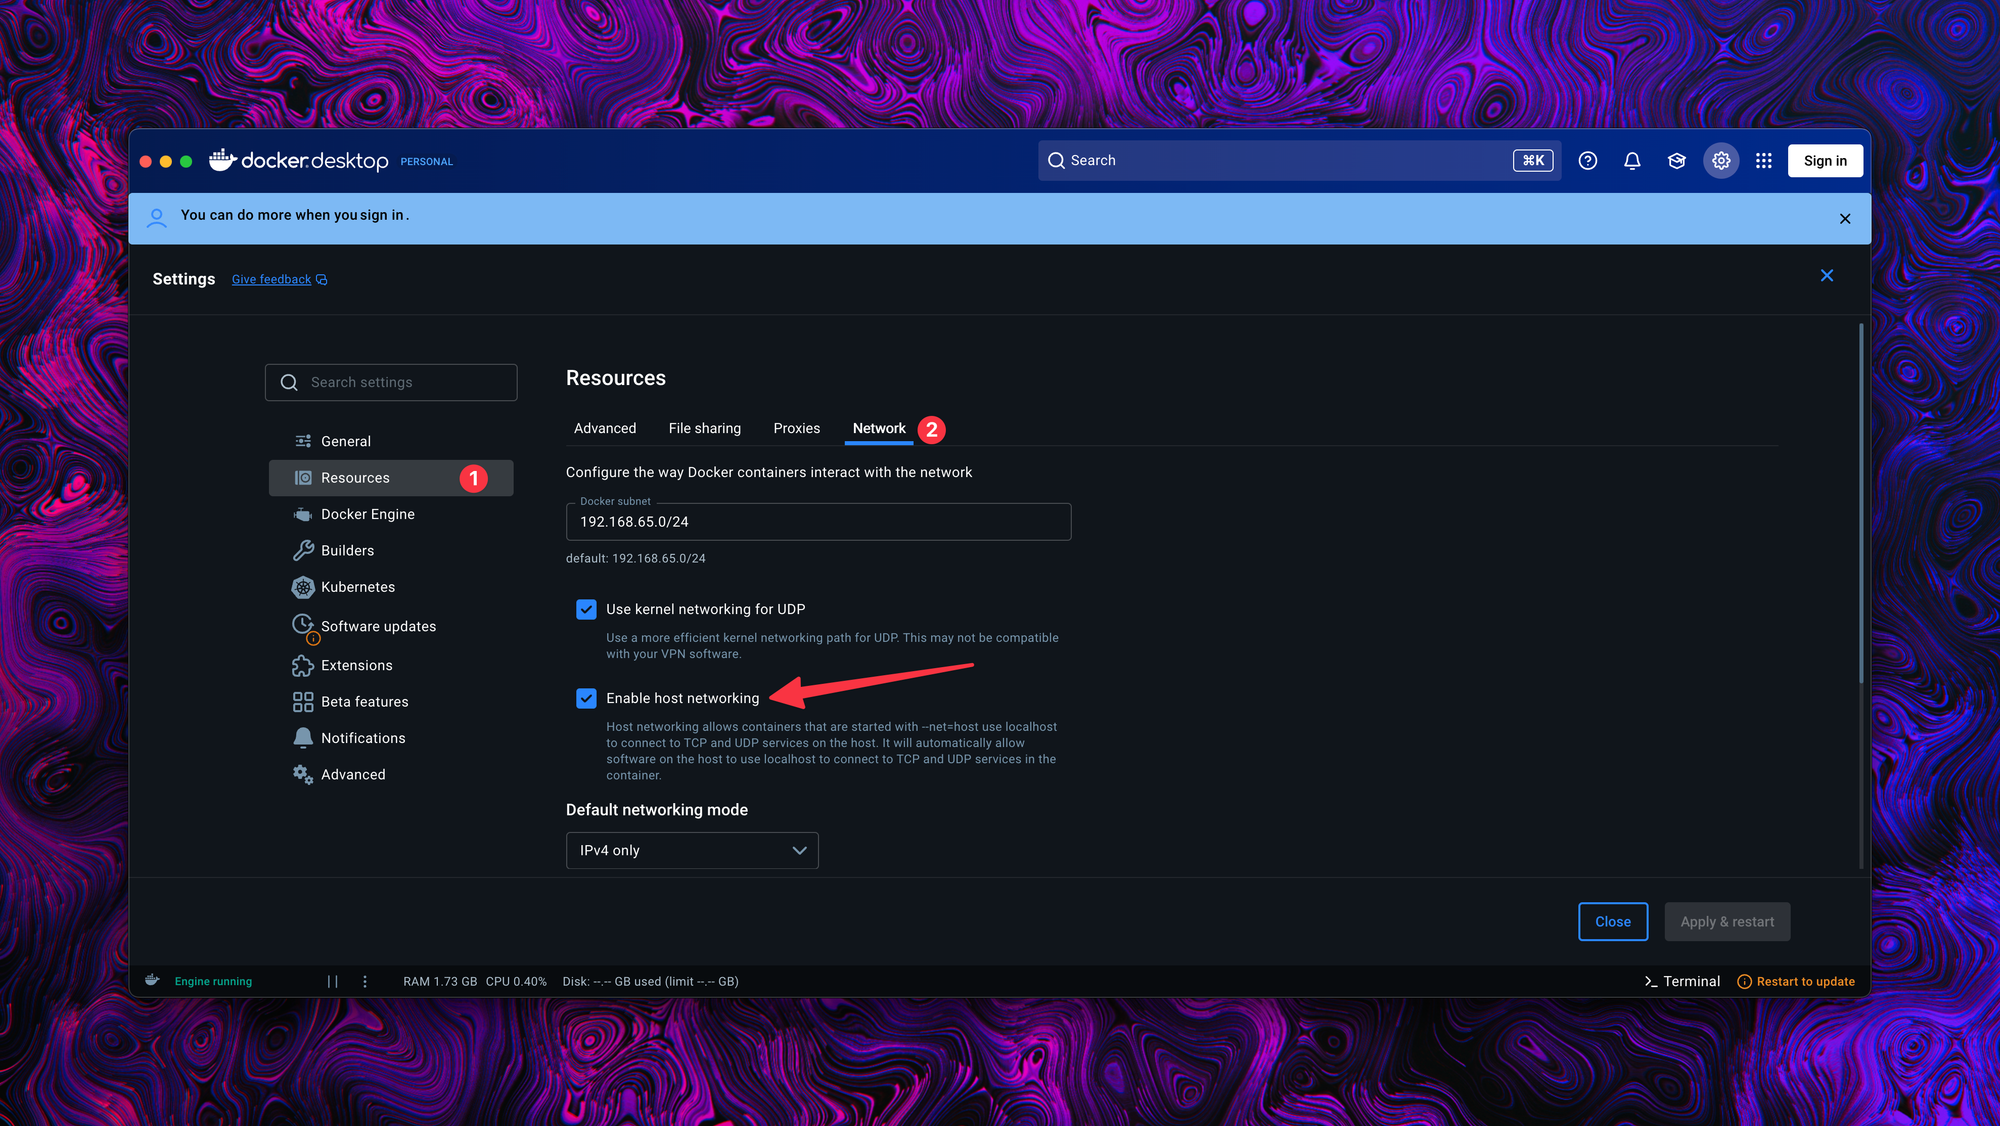
You can follow the official document to install Docker. After installing Docker, make sure it's running. Then open the Docker Desktop application and go to Settings -> Resources -> Network. Check the Enable host networking checkbox.
Host networking allows containers that are started with --net=host use localhost to connect to TCP and UDP services on the host. It will automatically allow software on the host to use localhost to connect to TCP and UDP services in the container.
Step 2: Install LMStudio
LMStudio is perfect for this setup because it natively supports MLX models and makes hosting local LLMs straightforward.
MLX is Apple's machine learning framework optimized for Apple Silicon chips, providing significantly faster performance than standard models.
You can use Ollama instead of LMStudio, but some steps may differ and aren't covered in this tutorial.
After installing LMStudio, you need to configure a few settings.
Model Location (optional)
If you want to download models in a different directory or drive. Click on the folder icon and select the path where you want the model downloaded into. I usually download these models on a fast external SSD so it won't fill the OS drive.
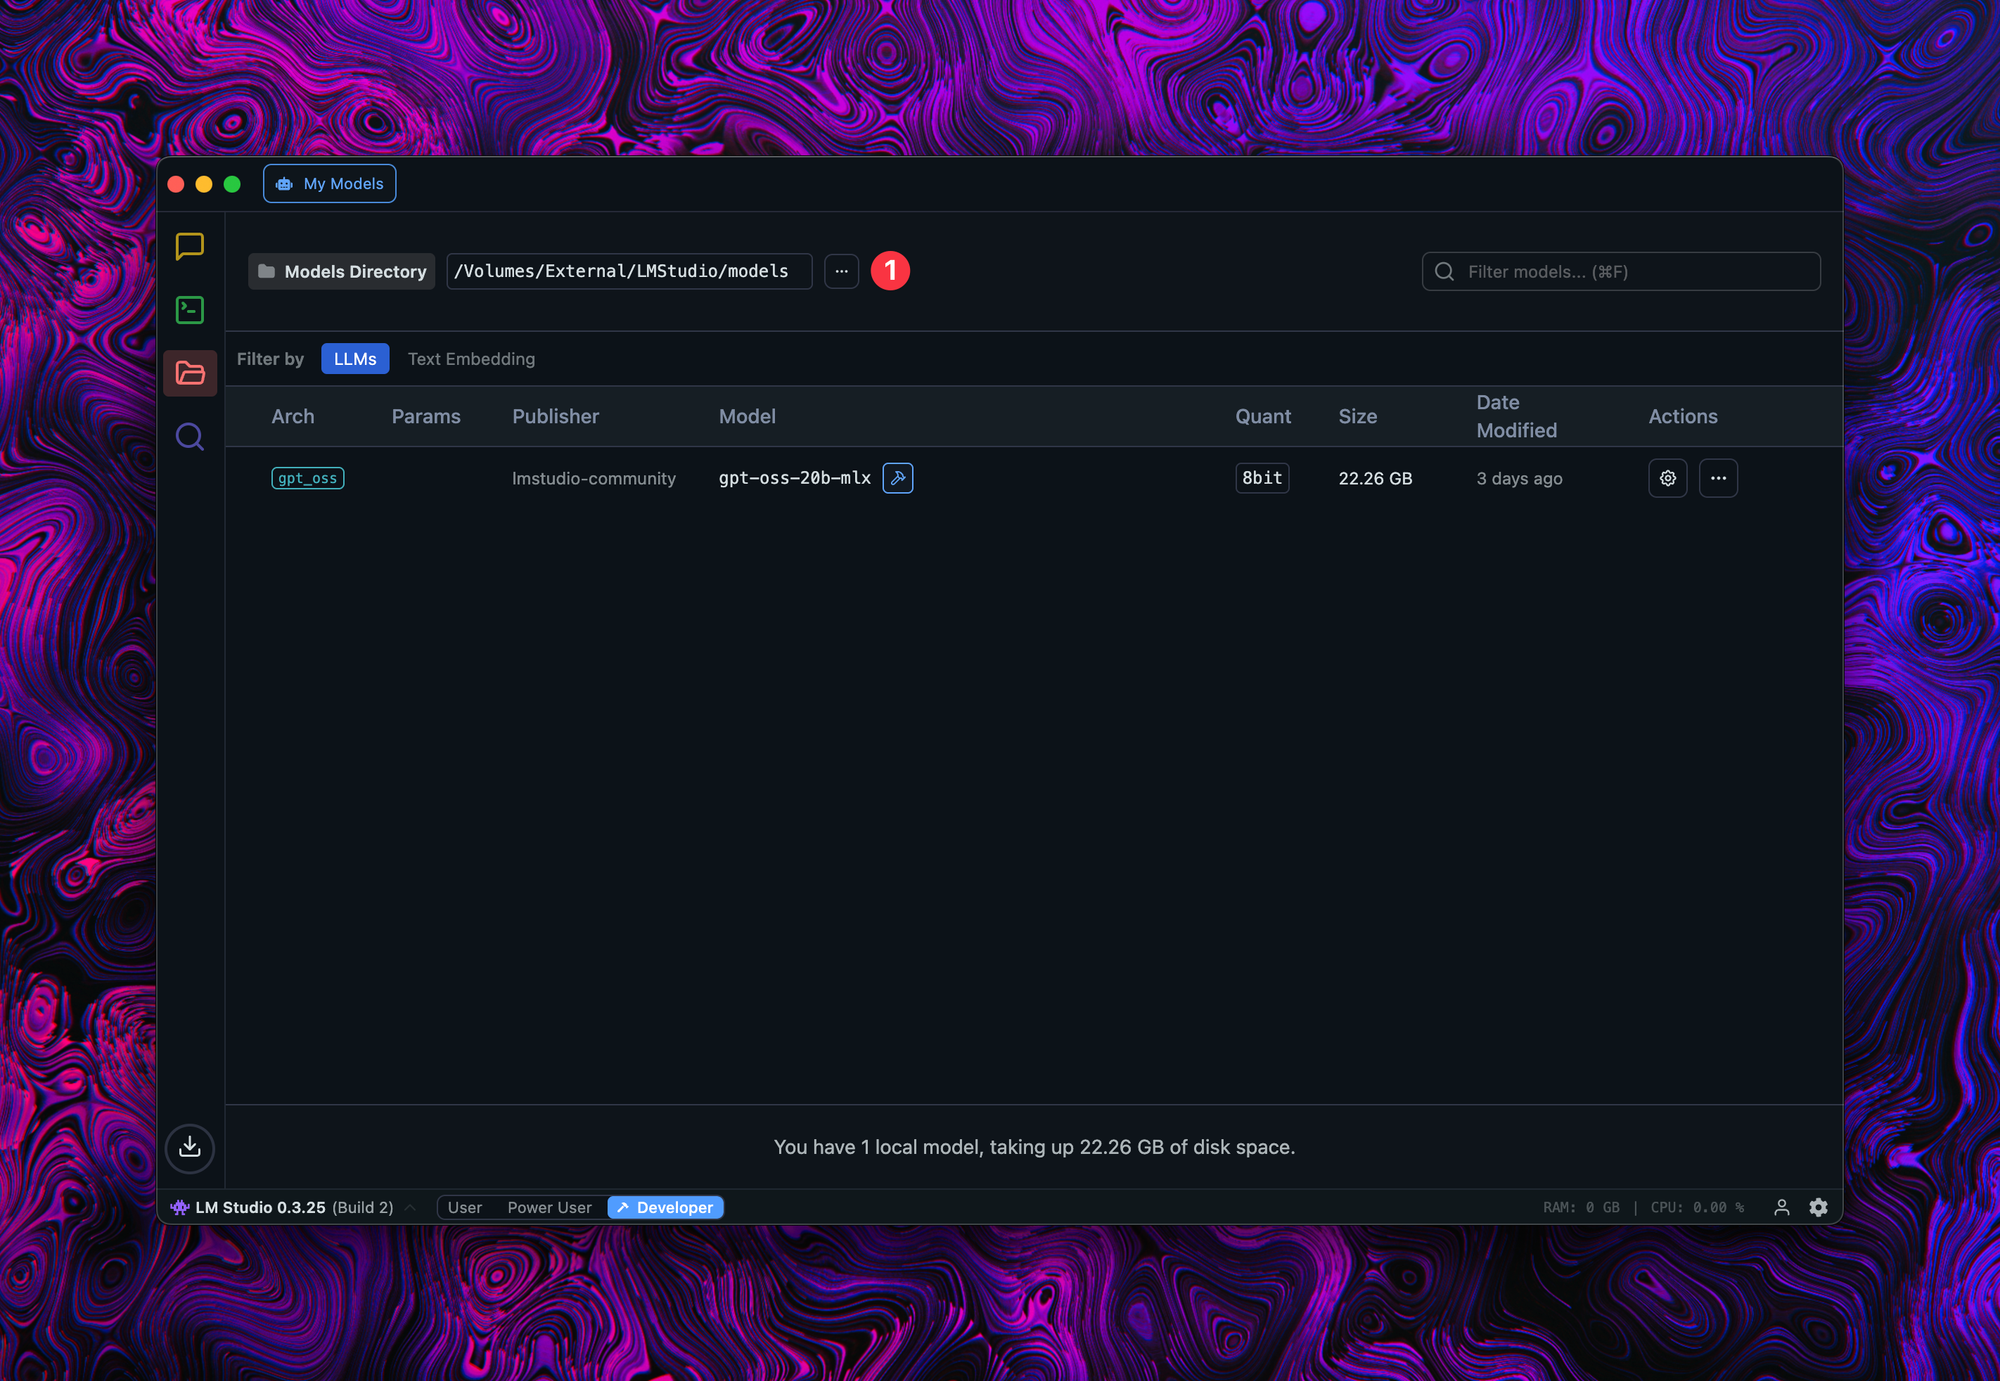
Downloading Models
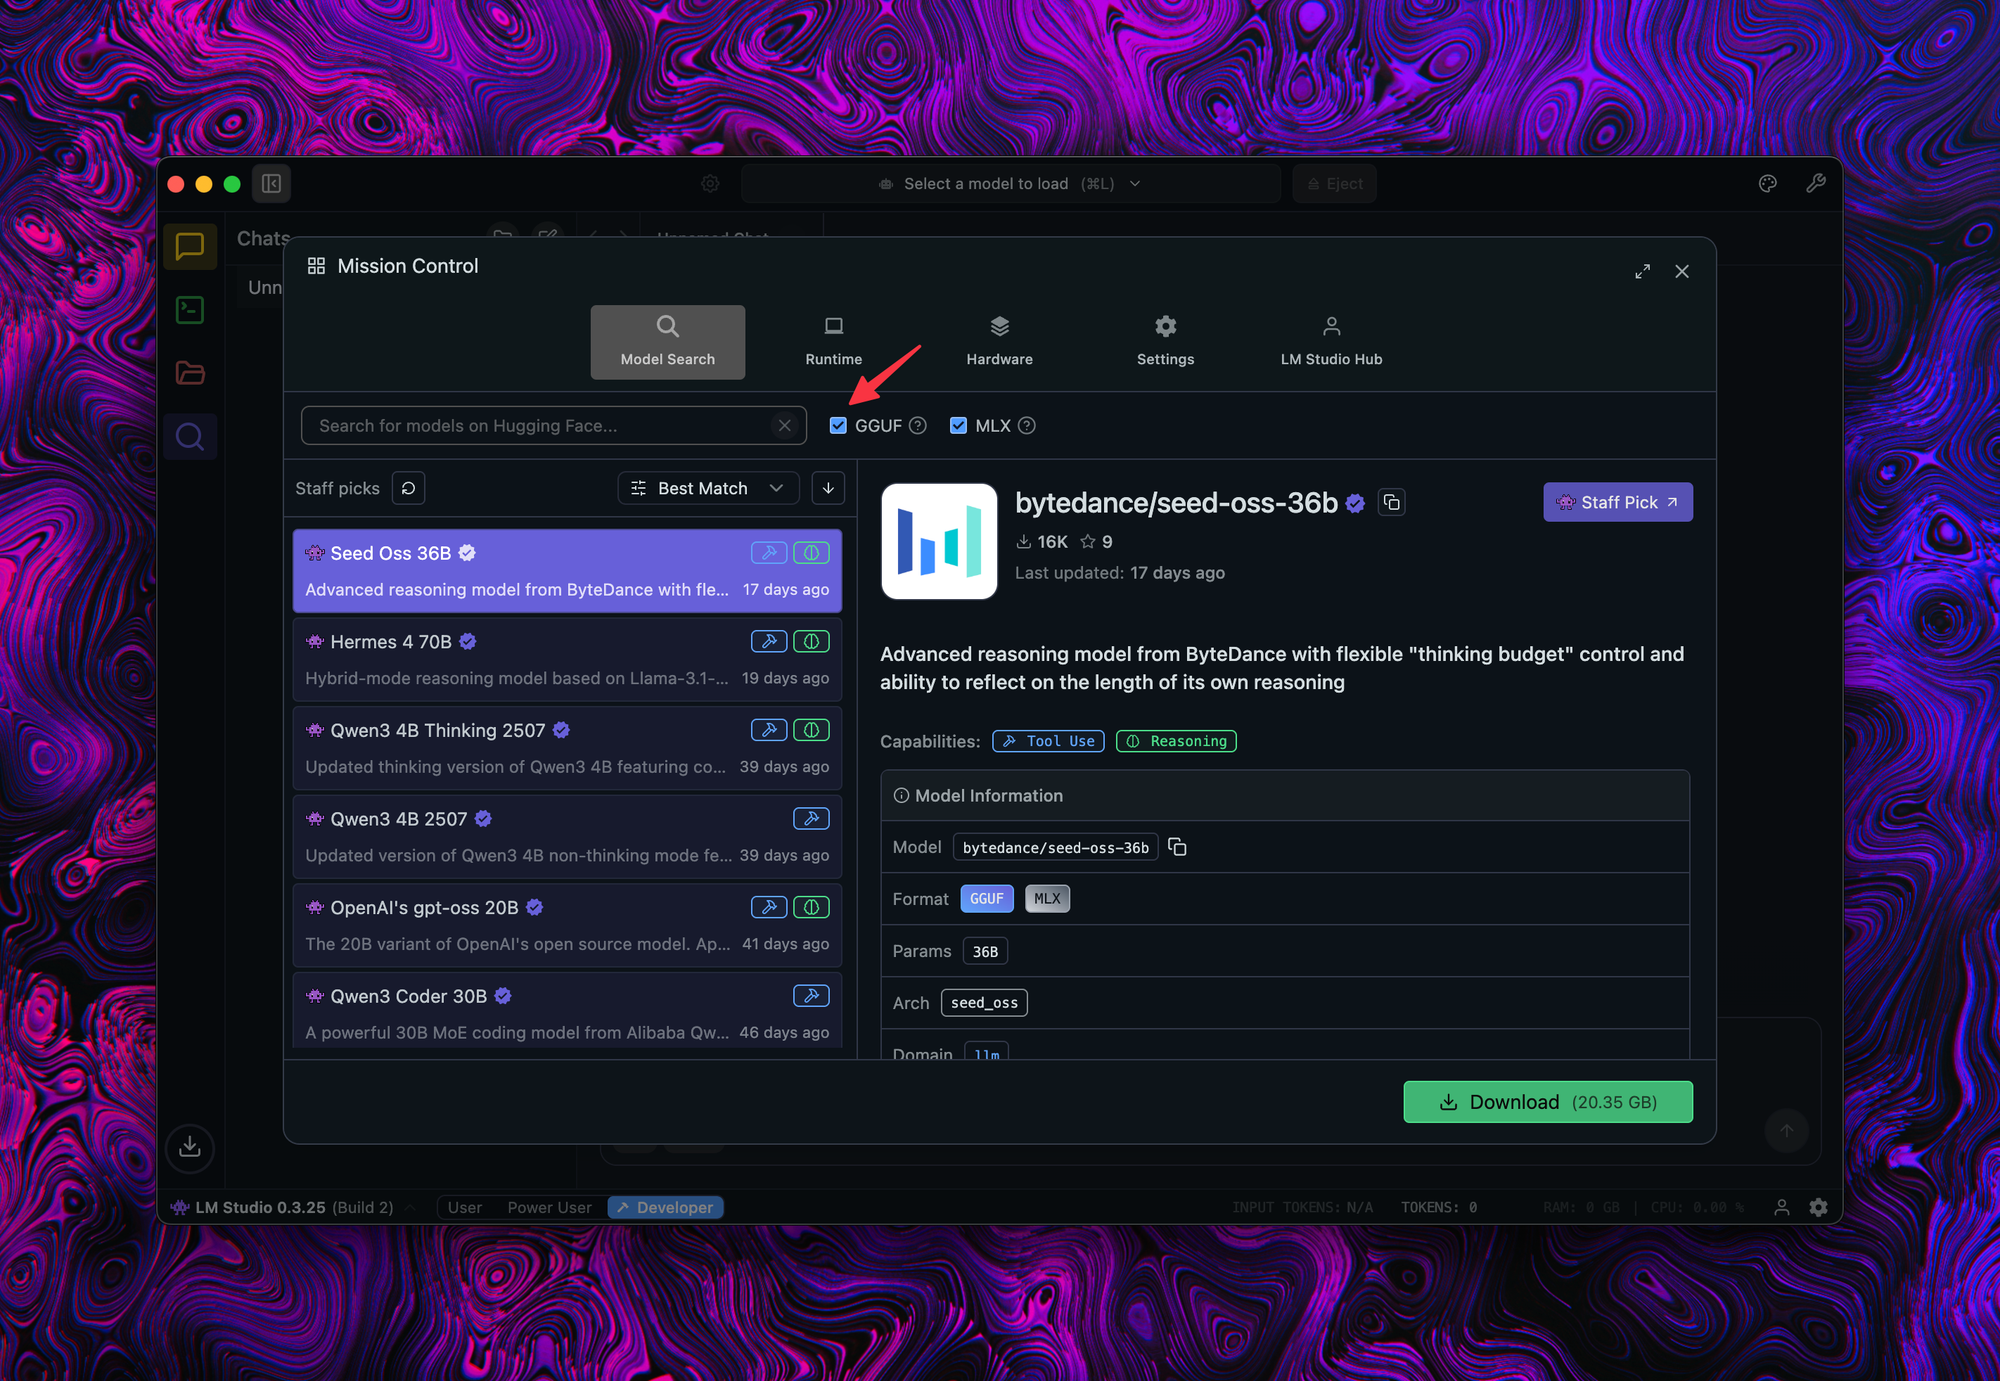
After installing LMStudio, open it and download the MLX model. Click on the magnifier icon.
Uncheck "GGUF" to show only MLX models (which are optimized for Mac), then search for the model you would like to download. I prefer the gpt-oss model.
Run Web Service
LMStudio has its web service. It's not running by default, so you need to run it manually the first time.
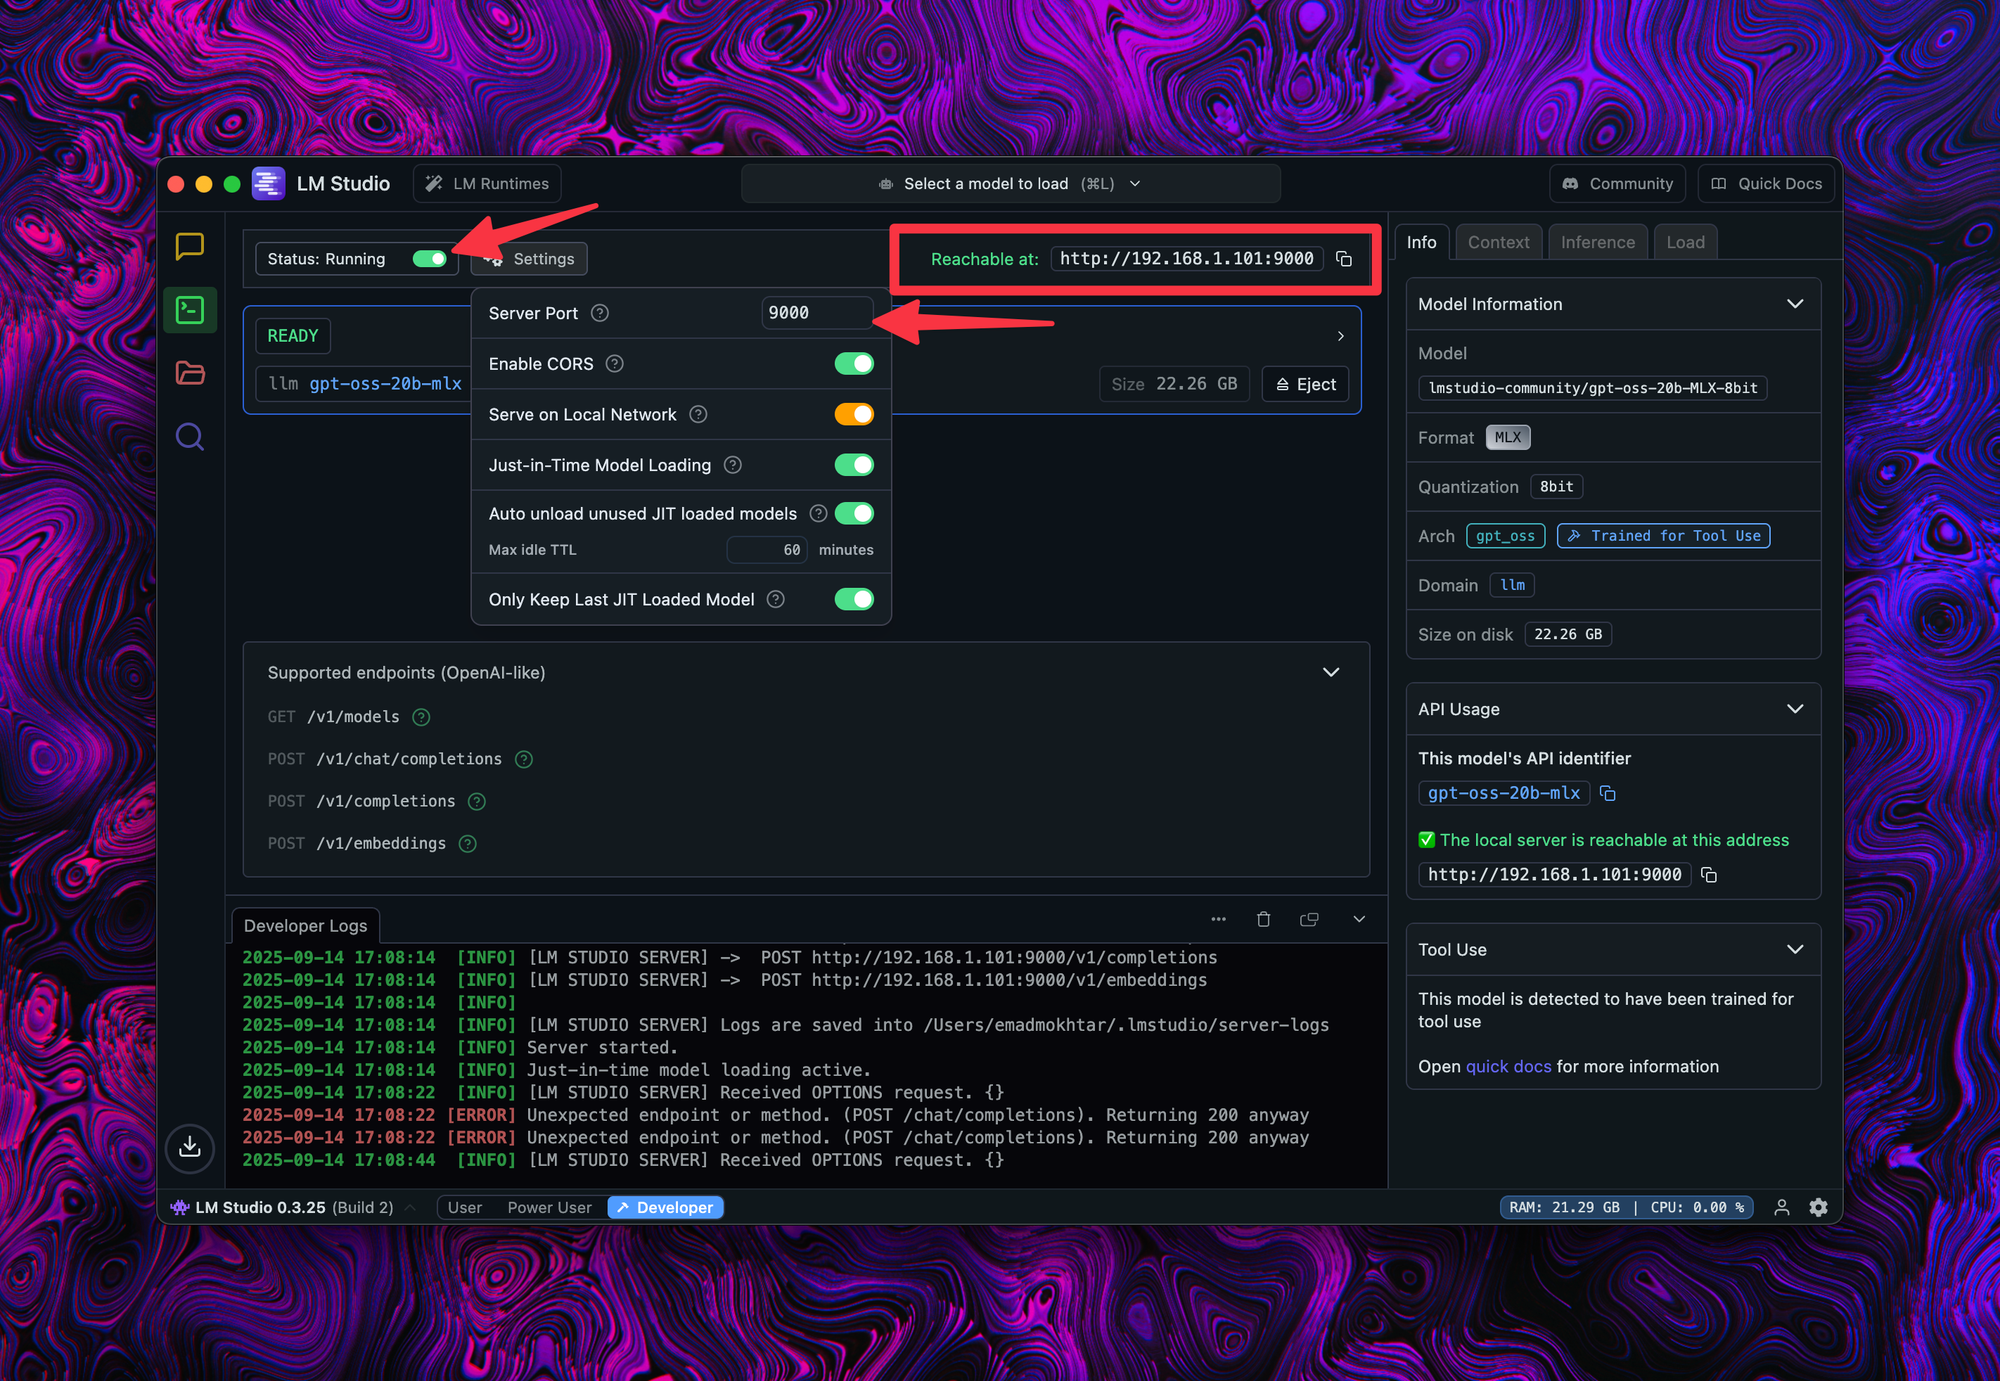
Copy the web service's URL - you'll need it in Step 4 to connect OpenWebUI to LMStudio.
Step 3: Install and run OpenWebUI
You'll install OpenWebUI using Docker Compose, which makes updates easier and isolates dependencies from your host machine.
Docker Compose File
openwebui.yaml
services:
  openwebui:
    image: ghcr.io/open-webui/open-webui:main
    restart: always
    volumes:
      - type: bind
        source: ~/.configs/openwebui
        target: /app/backend/data
    network_mode: "host"
  watchtower:
    image: containrrr/watchtower
    restart: always
    volumes:
      - /var/run/docker.sock:/var/run/docker.sock
    command: --interval 300 open-webui
    depends_on:
      - openwebui
This Docker Compose file defines two services, one for the OpenWebUI and the other one for Watchtower:
- The
watchtoweris checking for a new image foropen-webui. It makes sure the latest container is running. - The
openwebuiservice is running theopen-webuiimage with two configurations:- A volume bound to a local path. This makes the container stores your configurations locally. In case you want to upgrade or remove the container, the configuration stays local.
- Network mode is
hostso the container will use the host network. This configuration is helpful if you would like to access the OpenWebUI from the internet.
Step 4: Configure LMStudio and OpenWebUI
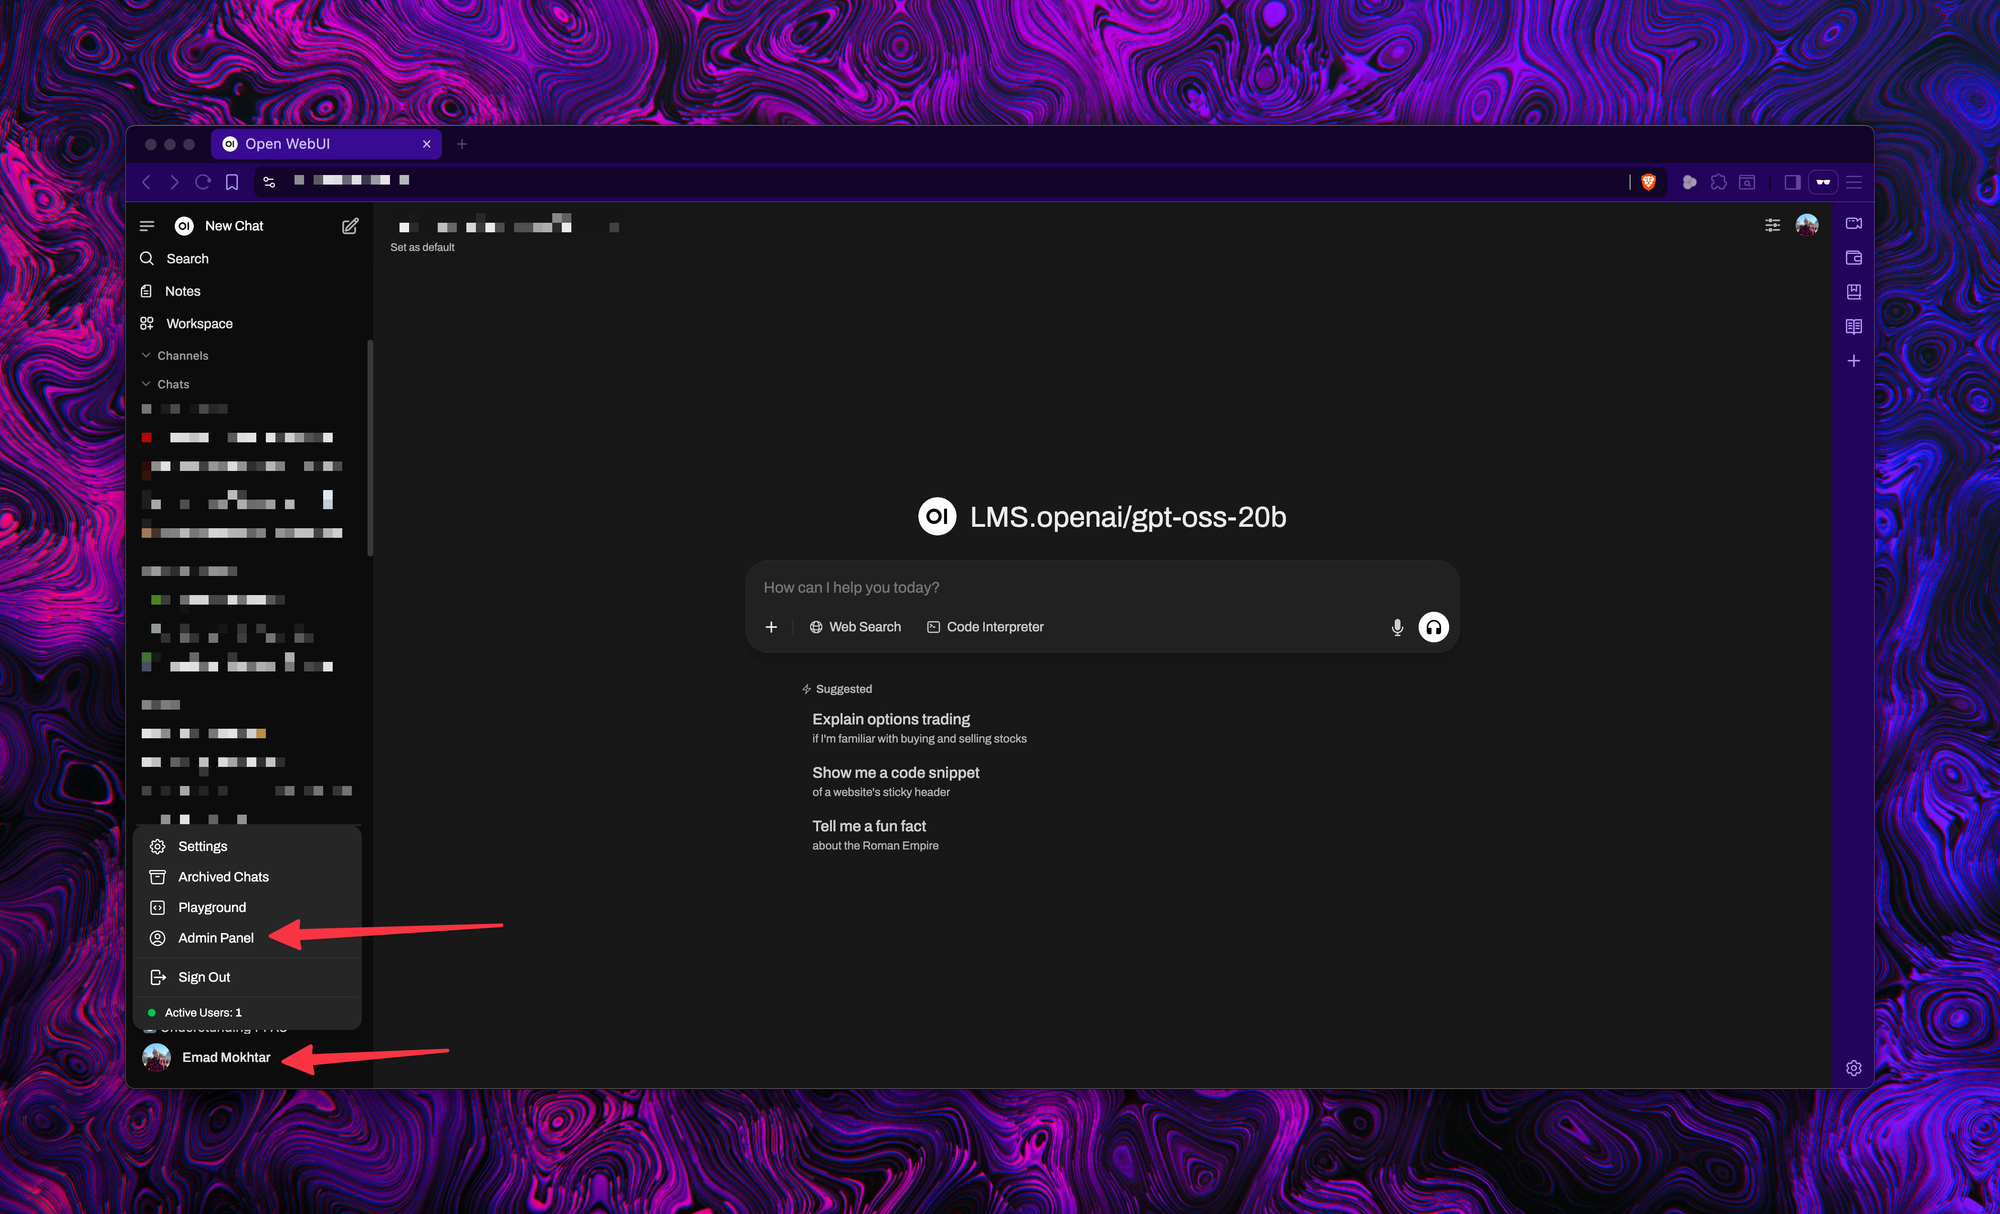
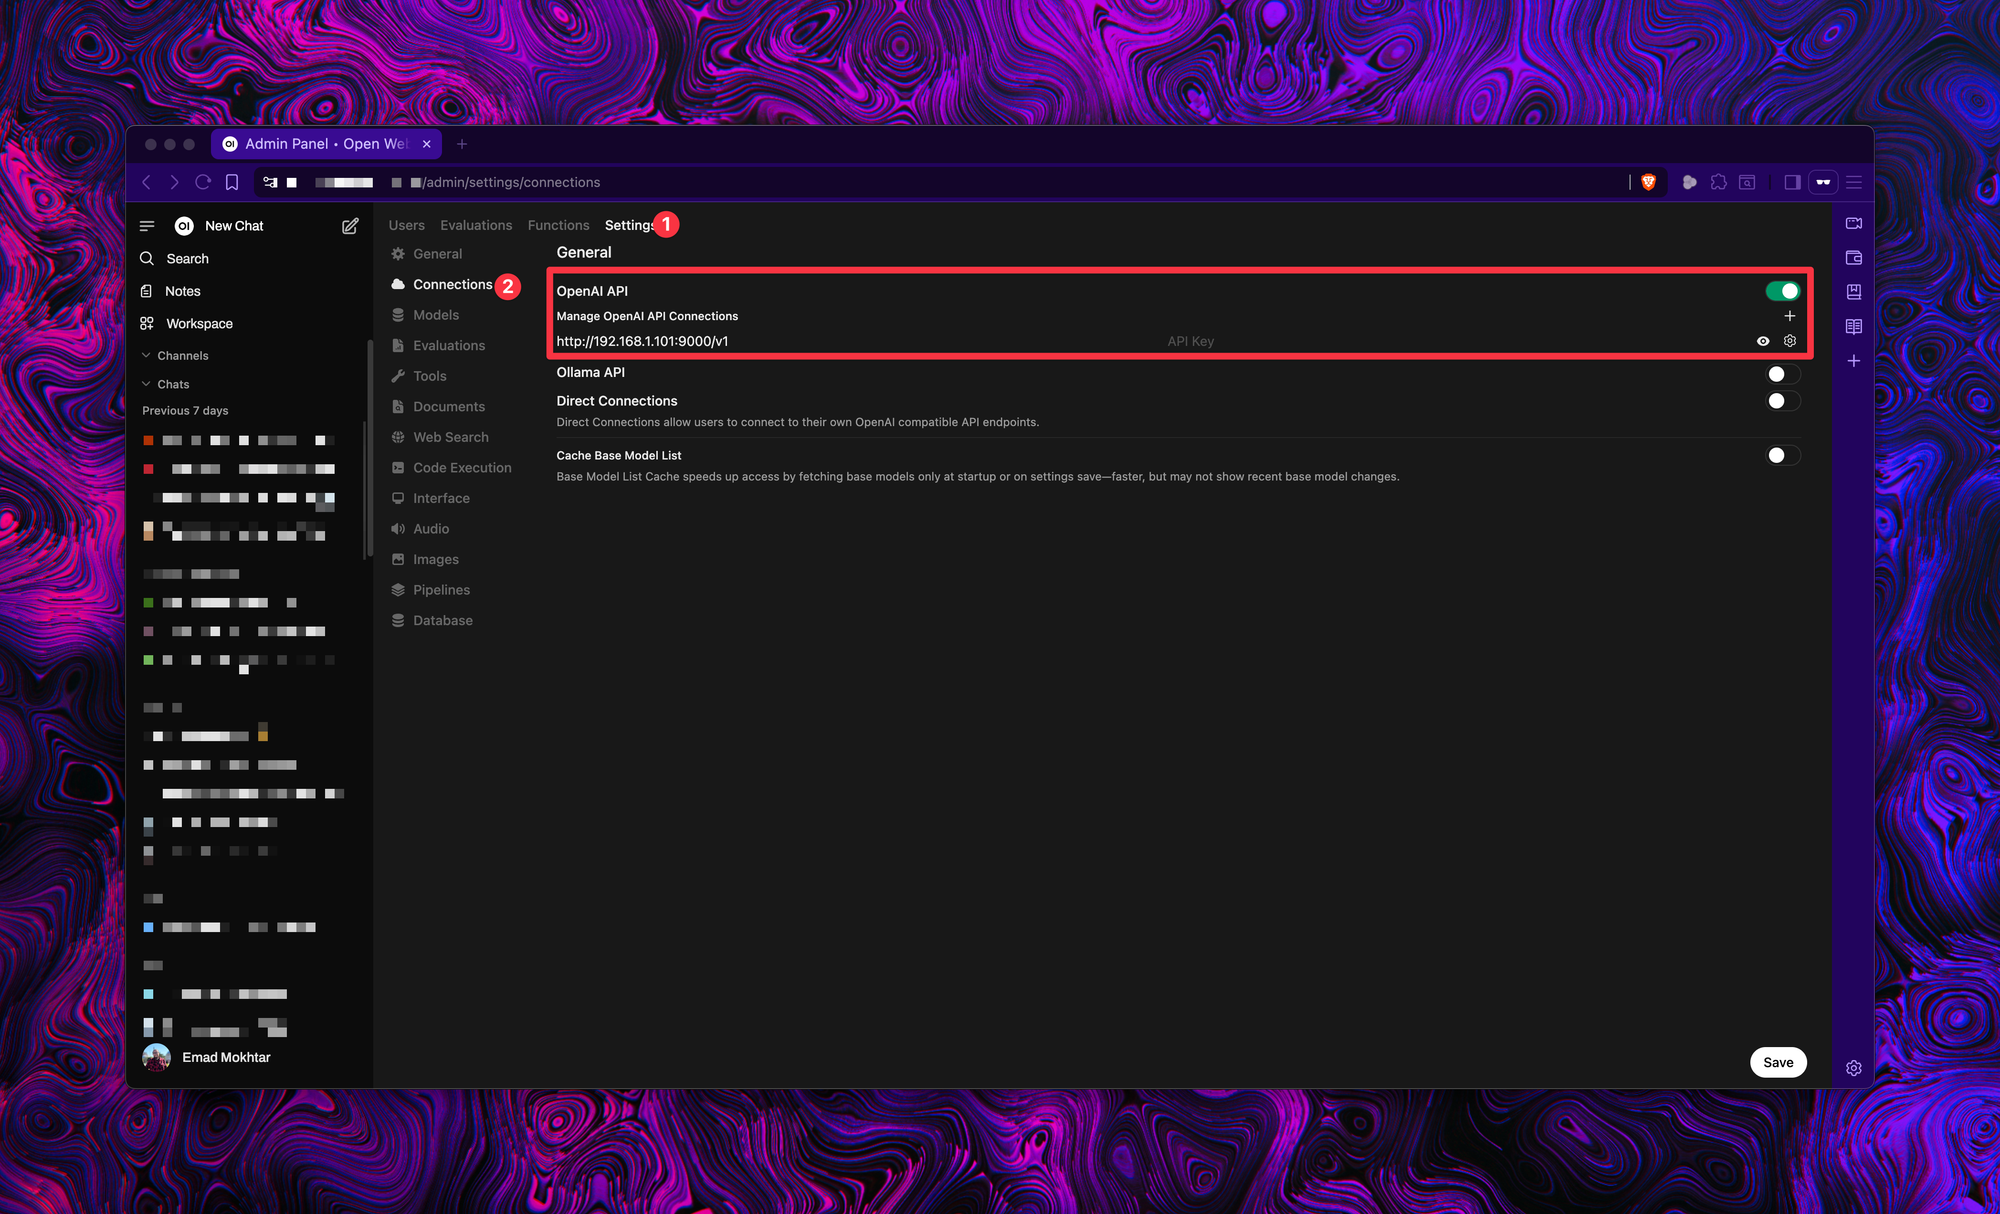
After installing and running the OpenWebUI, open it in a browser http://localhost:3000. Create your admin user, then go to the Admin Panel.
Then go to Settings -> Connections. Enable the OpenAI API and fill in the LMStudio's web service URL. Please don't forget to add /v1 at the end of the URL.
Troubleshooting
- If OpenWebUI can't connect: Ensure LMStudio's web service is running.
- If models don't appear: Verify the
/v1suffix in your API URL. - If performance is slow: Try smaller MLX models first.
Step 5: Test the configurations
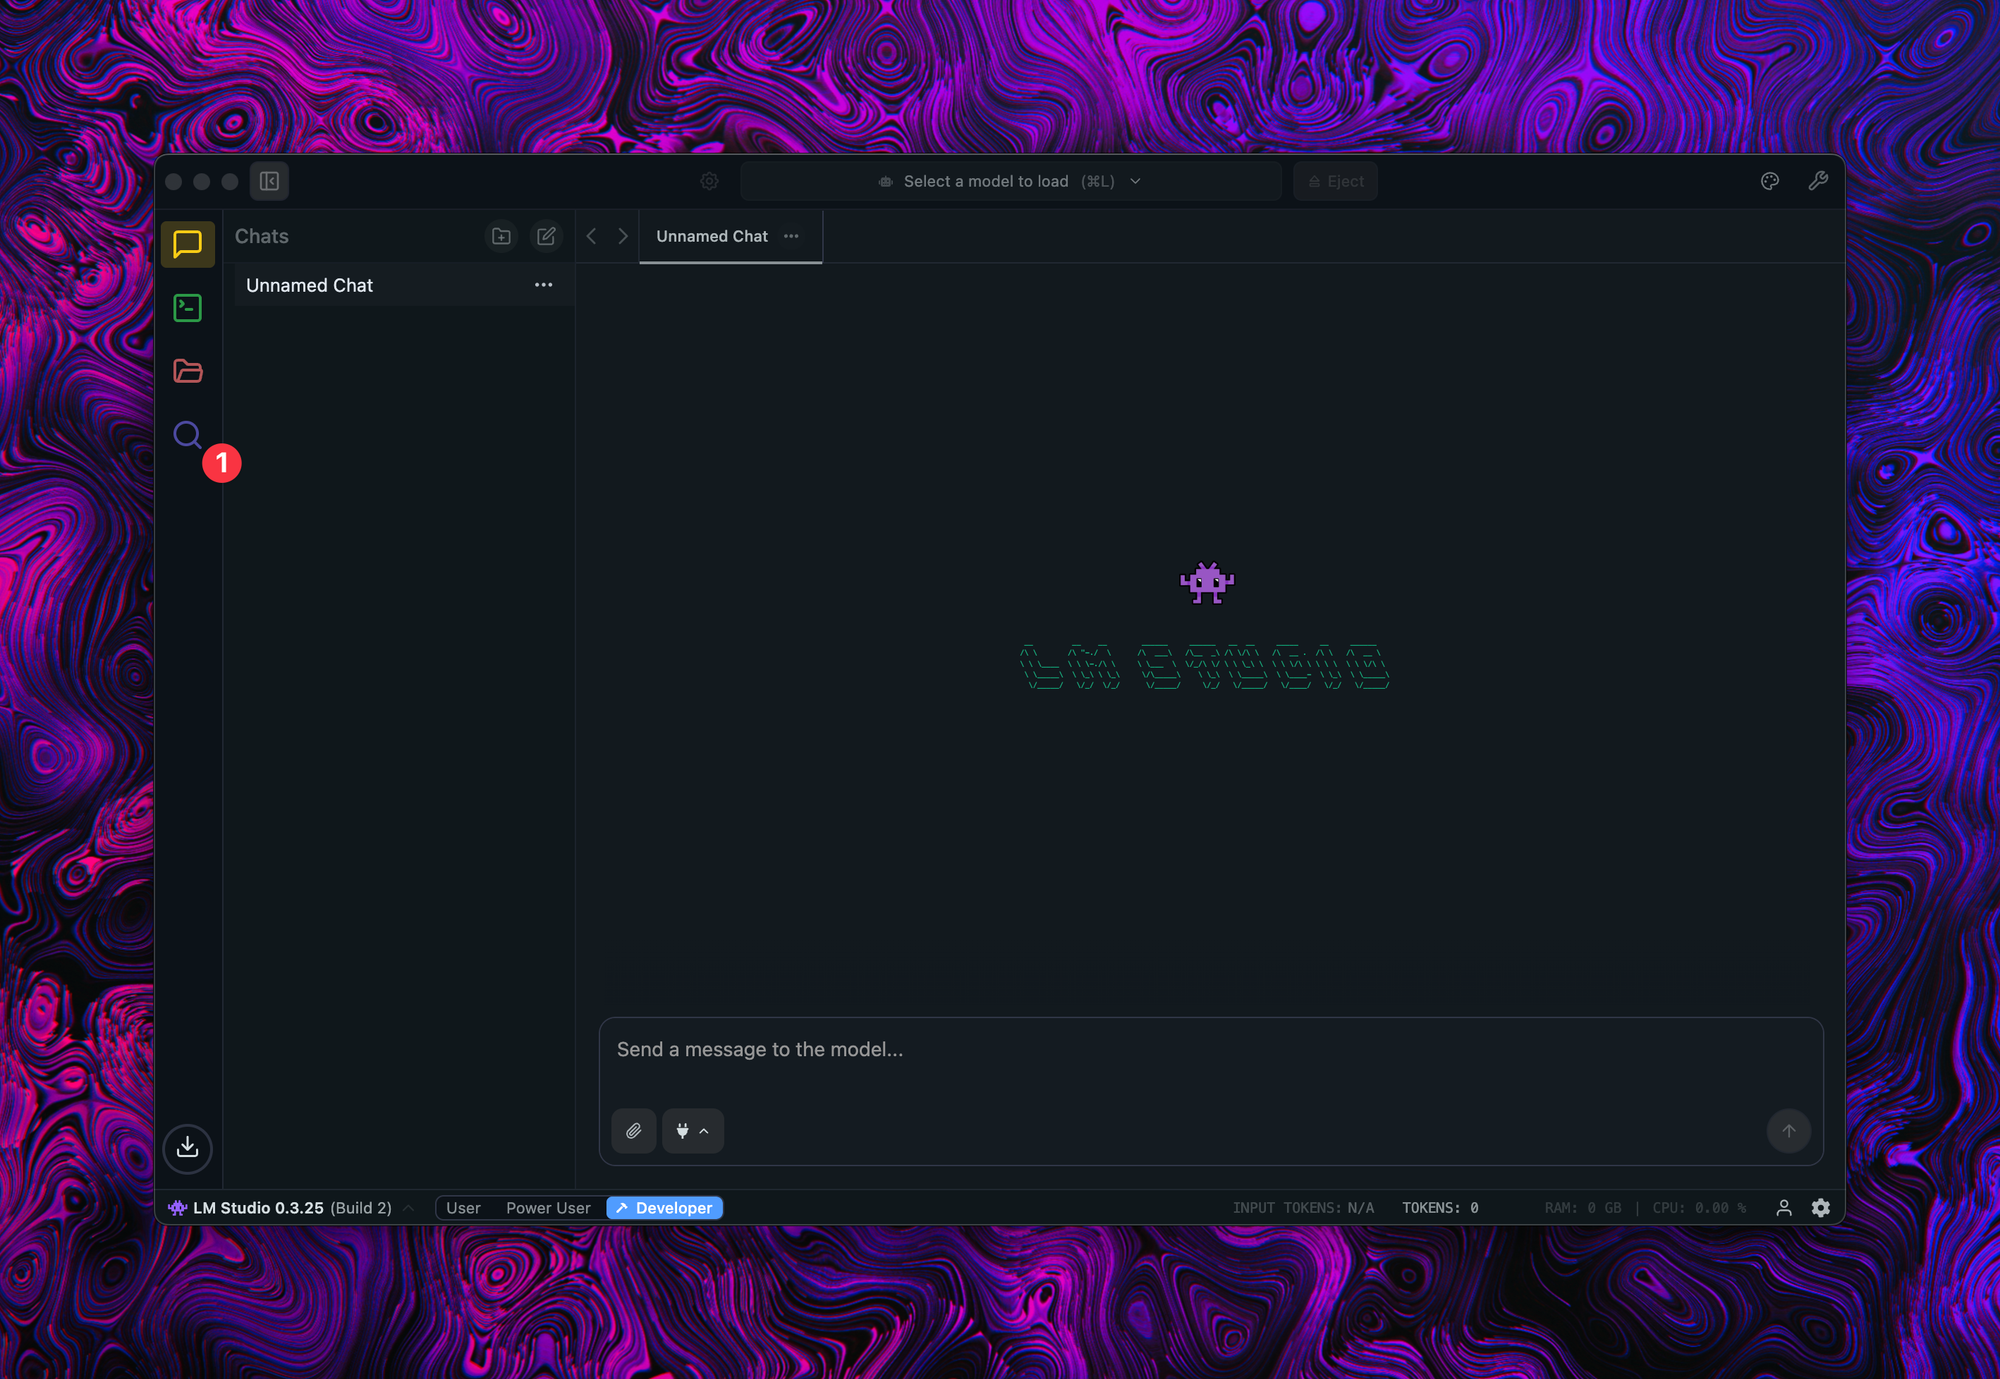
Click on 'New Chat' and select one of the downloaded models. Start chatting with your model.
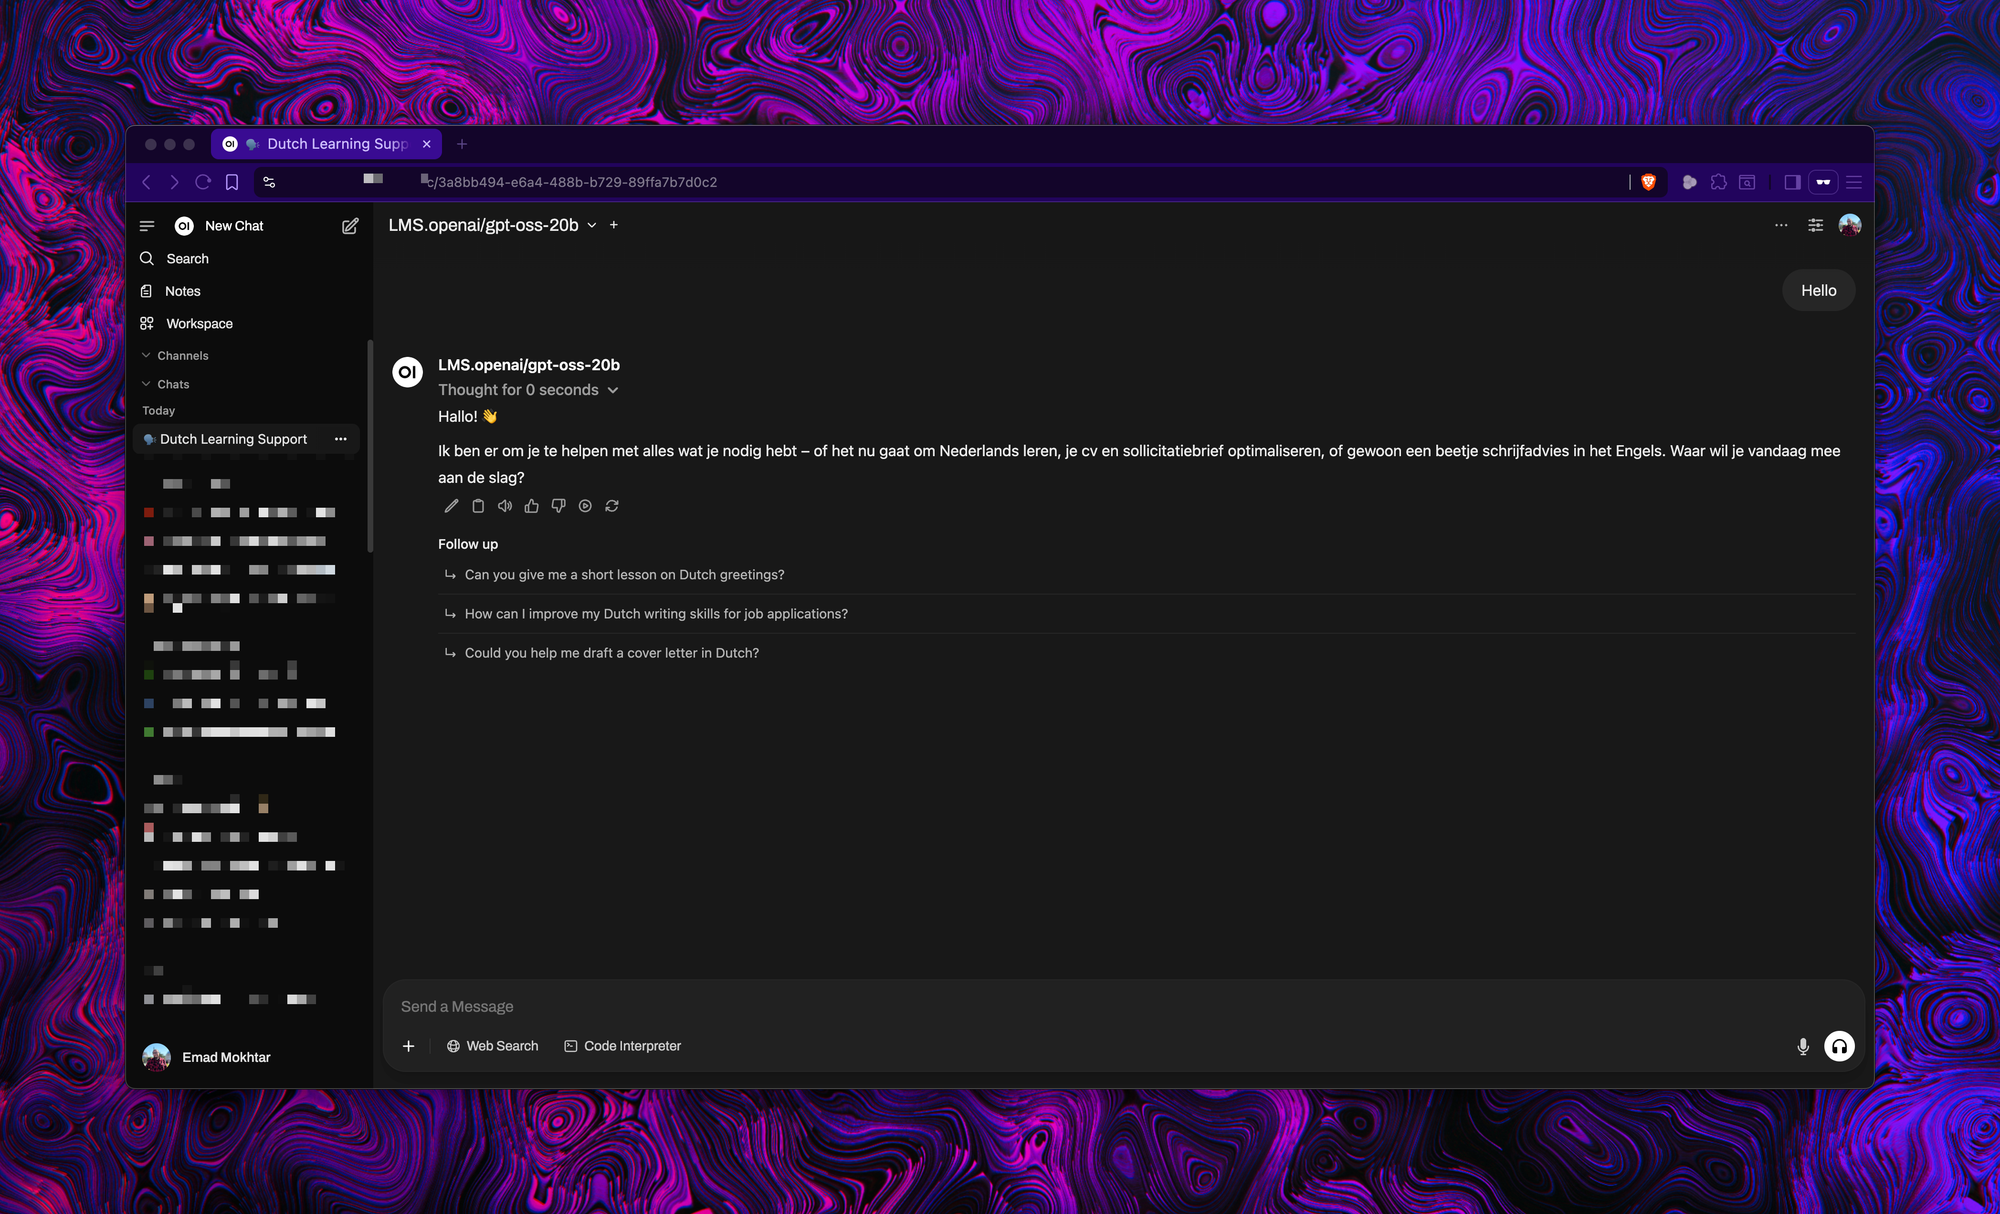
Voilà, Now you have local ChatGPT. Enjoy it 😉


